
Prep matters more than the product. A Pittsburgh garage slab takes road salt all winter, freeze-thaw cycles that pry cracks open, and damp soil pushing vapor up from below. Each one attacks the bond between epoxy and concrete.
Most peeling floors trace back to rushed prep, not bad epoxy. Think of prep as the foundation and the coating as the house built on top. A weak foundation fails no matter how good the house is.
Start with the short version below, listed in the exact order you’ll work through it.
Quick steps to prep a garage floor for epoxy
Here’s the short answer on how to prep garage floor for epoxy. Six steps, in order. Skip one and the coating starts lifting.
- Clear and sweep the garage. Empty it out, then sweep and vacuum every corner.
- Degrease and clean the slab. Scrub oil spots with a concrete-safe degreaser and a stiff brush.
- Repair cracks and pits with patch material. Let the filler cure, then sand it flush.
- Etch or grind for a mechanical profile. Grinding leaves a more even texture than acid etching.
- Test the slab for moisture. Tape plastic down overnight. Condensation underneath means wait.
- Rinse and fully dry before coating. Trapped water pushes coatings up later.
Prep works like a house foundation. Even the best garage floor epoxy is only as strong as the concrete under it. That’s the whole secret of how to prep a garage floor for epoxy.
Not sure your slab passes? Call or text (412) 873-4406 now for a free project review and written scope.
Each of these steps matters more in a Pittsburgh garage than a fair-weather climate, starting with what’s actually sitting on your slab right now.
Clean and degrease the concrete surface
Before any epoxy floor coating garage project starts, the slab needs to actually be clean, not just swept. Oil, grease, and road salt all block the bond. Leave any behind and the coating eventually lifts.
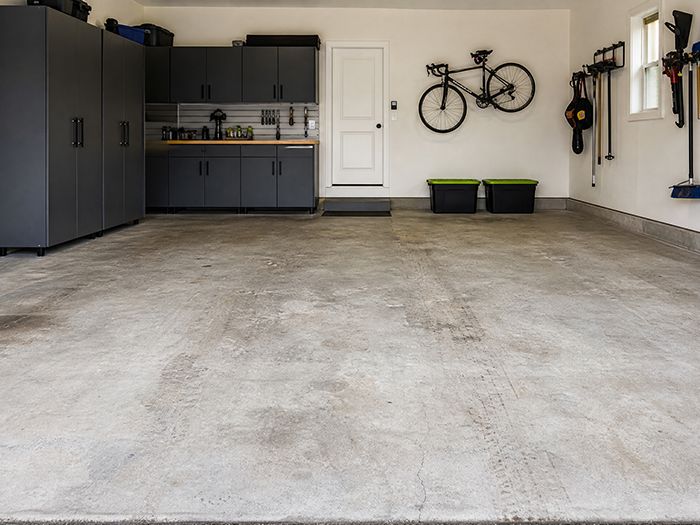
Work through it in order:
- Sweep and remove debris. Vacuum grit out of corners and joints.
- Degrease oil and grease stains. Soak each spot with a concrete-safe degreaser, then scrub with a stiff brush. Leftover oil will seep back through and ruin the coating. Treat any rust stains now too.
- Pressure wash the slab. Blast off loosened grime and degreaser residue.
- Flush out winter road salt. Most guides skip this PA step.
PA road crews spread heavy salt all winter. It rides in on your tires, soaks into the pores, and pulls moisture in with it. Keep scrubbing and rinsing until the white haze is gone.
Knowing how to prep garage floor for epoxy paint means treating salt as seriously as oil. Even the best garage floor epoxy kit won’t grip a salty slab.
Once the surface is clean, it’s time to deal with the damage most PA garages accumulate every winter.
Repair cracks, spalling, and pitting
Western PA winters don’t freeze once and stay frozen. They freeze, thaw, and refreeze from late fall into spring. Water soaks into tiny pores, expands as it freezes, and pries the concrete apart a little more each cycle. That’s why most older Pittsburgh garages show cracks, spalls, or pits by the time you’re ready to coat.
Epoxy won’t hide any of it. It shows every flaw and can split right over a moving crack. Match the filler to the damage:
- Hairline cracks. Use a thin, flexible filler or injection resin like Simpson Strong-Tie Crack-Pac. Flexible products handle freeze-thaw movement better than rigid ones.
- Larger cracks and spalls. Chip out loose concrete, then fill with an epoxy-compatible patch compound. Overfill slightly and grind flush once cured.
- Pitting. Press a thick paste like Rust-Oleum Concrete Patch & Repair into each divot and scrape it level.
Not sure what counts? Use the putty-knife test. If the blade slips into the crack, fix it before coating.
Skip cement fillers for structural cracks. They can shrink and crack again.
With patches cured, the next question is how much texture the slab actually needs before epoxy will grip it.
Etch or grind for a proper surface profile
Epoxy needs texture to grab onto. The big choice in how to prep garage floor for epoxy coating is which tool creates that texture.
Acid (muriatic) etching is the DIY kit route. You spray diluted acid, scrub, neutralize, and rinse. It’s cheap, but results swing with the concrete. Dense spots barely etch.
Diamond grinding cuts the whole slab to an even, sandpaper-like texture. It also strips old sealers along the way.
Pros rate the result on ICRI’s Concrete Surface Profile (CSP) scale. Low numbers mean smooth, and higher numbers mean rougher. Etching usually lands at CSP 1–2. Grinding hits CSP 2–4, the range most epoxy systems want.
| Attribute | Acid (muriatic) etching | Diamond grinding |
|---|---|---|
| Typical CSP | CSP 1–2 | CSP 2–4 |
| Consistency | Varies with concrete | Even across slab |
| Removes old sealers | No | Yes |
| Equipment | Sprayer and stiff brush | Rented or pro grinder |
| Best fit | Light-use floors | Most PA garages |
Pittsburgh’s freeze-thaw cycles and road salt punish a weak bond, which is why grinding tends to be the safer bet here. Profile depth means nothing, though, if there’s moisture pushing up from underneath the slab.
Test moisture levels before coating
Most PA garages are slab-on-grade, poured right onto the soil. That soil stays damp, pushing vapor up through the concrete. Coat over it and the epoxy traps that vapor until pressure lifts it off. Any honest guide on how to prep for epoxy garage floor jobs ends with a moisture check.
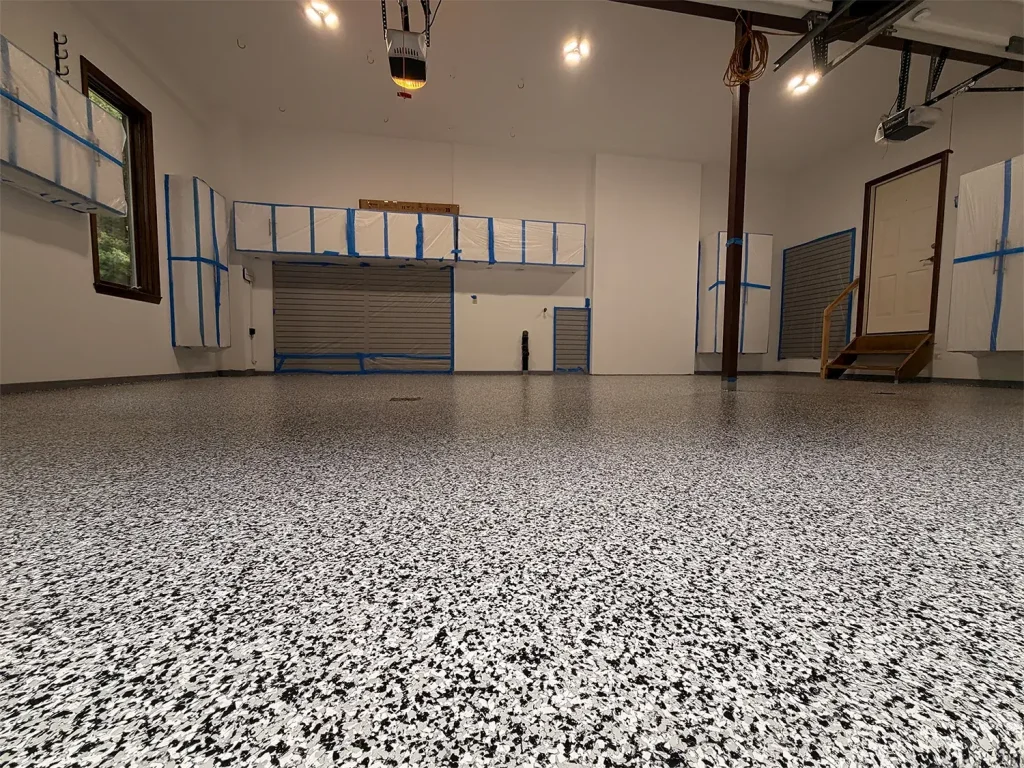
- Plastic sheet moisture test (ASTM D4263). Tape an 18-inch plastic square flat on the slab with all edges sealed, then leave it for 16–24 hours. Condensation under the sheet or darker concrete means the slab is too wet. A dry result is encouraging, not a guarantee.
- Electronic moisture meter test. A handheld meter gives quick readings you can take across the whole floor. Use it to find wet zones near walls and drains. It won’t give you a true pass-fail number, though.
For a hard answer, pros run quantitative RH probe or calcium chloride tests.
A slab can look bone-dry and still hold water inside. The same problem hits basements, which is why basement floor coating options start with moisture control too. Just as professional garage floor coating services account for moisture in their approach, DIY epoxy prep must as well.
If any of these steps turn up bigger problems than expected, it’s worth knowing when to stop DIYing and bring in a pro.
When DIY prep isn't enough: calling a pro
A garage floor epoxy kit plus a weekend of acid etching can handle a light-use floor. But most peeling traces back to prep that never reached a real mechanical profile.
Signs of DIY etching-kit failure:
- Peeling along tire paths, where hot tires pull a weak bond loose.
- Blistering, as moisture vapor pushes bubbles up under the coating.
- Flaking by the door, where salt hits first.
More etching won’t fix that. The fix is professional diamond grinding or shot blasting, which strips failed coating and cuts an even profile.
The best garage floor epoxy kit costs far less up front, but it covers only the product. Pro installs cost more, yet they include grinding, repairs, and a written warranty. Redo a failed kit and you pay for removal first.
Knowing how to prep garage floor for epoxy means knowing when to stop. Simiron-certified crews offer a free assessment, same-day pricing, and a written lifetime warranty on professional garage floor coating services.
Want a free assessment? Call or text (412) 873-4406 now for a free project review and written scope.
Here’s what that difference actually looks like on garage floors we’ve inspected and coated around Pittsburgh.
Our experience prepping Pittsburgh garage floors for epoxy
Simiron-certified crews inspect a lot of failed floors around Pittsburgh, and the pattern rarely changes. DIY-etched slabs start peeling within a few winters, while properly ground floors keep holding for many years.
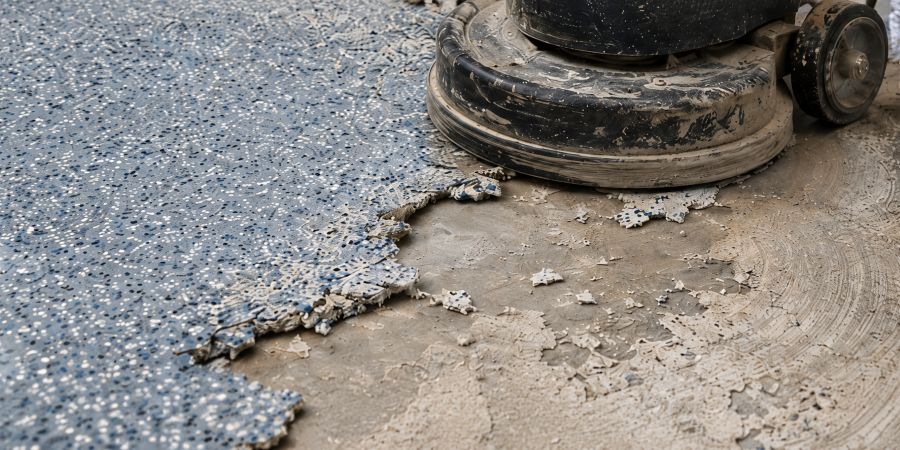
Here’s what usually shows up on an etched floor:
- Peeling in the tire lanes first. Hot tires pull a shallow bond loose.
- Flaking near the door. Salt brine creeps under the edge and lifts it.
- Smooth, shiny concrete under the peel. That’s the giveaway. The acid never opened the surface enough.
Ground floors tell a different story. Pry at a chip on one and you’ll often find concrete still stuck to the coating. The bond outlasted the surface itself.
Think of it like framing a house on a cracked footing. Even the best garage floor epoxy can’t outlast a weak profile.
When you compare epoxy garage floor cost, factor in removal risk. A cheap kit that peels means grinding off the old coating before you start over. Paying for real prep once almost always beats paying for it twice.
Get your garage floor ready for epoxy the right way
Every step in this guide comes back to one idea. The coating is only as good as the slab under it. Build on a weak footing and even a solid house starts to crack.
Here’s the order that holds up through PA winters:
- Clean out oil, grease, and every trace of road salt.
- Patch cracks, spalls, and pits so freeze-thaw can’t reopen them.
- Grind for an even profile instead of trusting a quick etch.
- Test for moisture, then let the slab dry fully.
That’s how to prep garage floor for epoxy so it survives salt season, not just the first summer. Rush any layer and you’ll likely be grinding off a peeling coat in a few years.
Doing it yourself? Take your time on the grinding and the moisture test. Those two steps decide most outcomes.
Want a second set of eyes first? Free assessment, same-day pricing, 1-day install and a written lifetime warranty. Call or text (412) 873-4406 now for a free project review and written scope.
Build your epoxy floor on solid prep
Epoxy doesn’t fail on its own. It fails because of what’s underneath it.
Pittsburgh garages take a beating from road salt, freeze-thaw cycles, and damp soil pushing vapor up through the slab. A coating can look perfect on day one and still peel by the second winter. That’s why knowing how to prep garage floor for epoxy matters more than picking the fanciest kit.
Clean until the salt haze is gone. Patch every crack the putty knife finds. Grind to a real profile, then prove the slab is dry before you open a can.
Get those layers right and the floor holds for years. Cut corners and you’ll pay for removal before you ever recoat.
Want a pro to check your slab first? Call or text (412) 873-4406 now for a free project review and written scope.
FAQ
Do I need to sand the garage floor before epoxy?
Not the way you’d sand wood. Sandpaper just polishes concrete. Epoxy needs a mechanical profile (CSP) cut by diamond grinding or acid etching, and grinding gives the more consistent texture.
What are the downsides of using epoxy on a garage floor?
It gets slick when wet without an anti-slip additive. Poor prep leads to peeling, bubbling, or delamination. Cold PA garages make curing tricky, and hot tires or heavy impact can mark some formulas.
How many gallons of epoxy do I need for a 2-car garage?
Most 2-car garages require roughly two epoxy kits per coat, so check the coverage rate printed on your kit before buying. Plan on two coats total, which usually means budgeting for that math twice over.